Do you want to punch up colours in your photographs? Lab colour a little used but amazing colour space in Photoshop is a good way to go about it.
Take a look at the images below where the original is a little dull and grey but editing it with Lab in the way I describe on My Website is can brighten up the colours to eye-catching hues. The photographs I show are a little over-emphasized for effect. See the difference in the images below
Have a look at this post to find out how to do this.
- Open your image in Photoshop
- Go to Edit in the Task Bar near the top of the screen second from the left next to File
- Left click and go down near the bottom of the window that opens and left click on Convert to Profile
- Find Lab color in the destination space by left clicking on the downward facing arrow head and going through the color spaces in the window that opens till you find Lab color
- Left click on it and then left click on OK
- You are now in the Lab color space
- Go to Layer in the Task Bar near the top of the screen and left click
- Go to New Adjustment Layers in the window that opens and left click
- A new window will open and go to Curves and left click – then left click on OK
- A window will open with the curves graph in it.
- Note that the box above the histogram and graph reads Lightness
- Lightness is all about Grey Scale contrast and you can ignore it
- On the right of Lightness are two opposing arrowheads – left click on them and a window opens
- It will show lightness highlighted in blue and a channel is bellow it and bellow that is b channel
- Left click on a to activate it in the graph
- a represents Magenta and Green
- By moving the centre line at the top of the graph in to the left you will pump up the Magenta Tones
- The graph may be represented by large or small squares
- For small squares one to two blocks in
- Don’t worry about the colour until you have completed all moves
- At the bottom of the graphs centre line move it to the right by the same amount as you moved the top
- Now go to the b channel which represents Yellow and Blue
- Repeat the moves on the graphs centre line top and bottom
- Now look at the colour – you can go back and tweak the moves on the centre lines to suit what you like
- What you are doing is making the centre line steeper and thereby increasing saturation.
- Though if you move one colour too much you will get a colour cast
- Check the difference in the Layers Pallet by left clicking on the eye next to the top layer to turn it on or off. You can also adjust the saturation here by adjusting the saturation in the Layers pallet to suit what you want.
- You should now go to Layer – Merge Down to flatten the image
- Go back to Convert to Profile and select sRGB Color in Destination Space and left click on OK
- If you don’t go back to sRGB or Adobe RGB then you will see a mess if the image is viewed out of Photoshop.
- Save
Hope you like the result

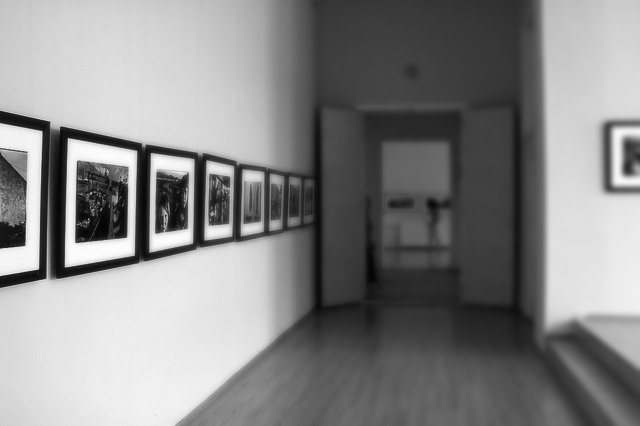
A Bit Dull

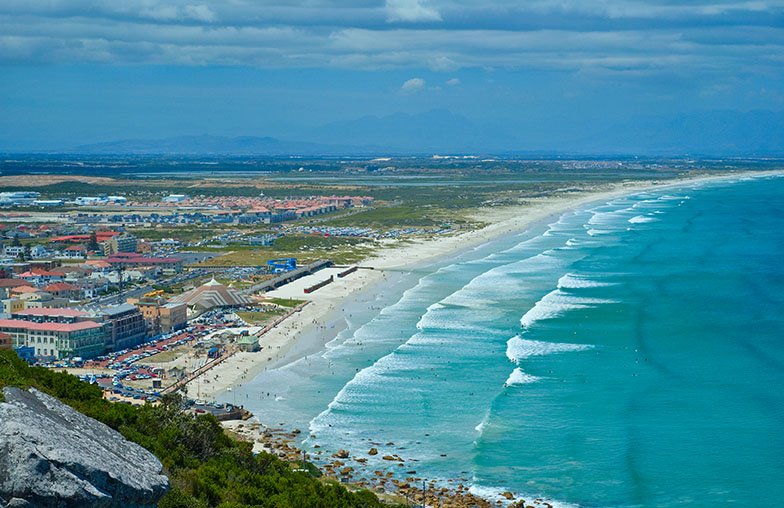
After the Lab Edit